Bread Maker Cheese and White Chocolate Cake
Another bread maker recipe? Ok being the noob that I am, I never thought that I could bake a cake in the bread maker. So when I read that it was possible to in the Panasonic SD-P104, I did the ONE thing that I do best and nobody can fight- ACT ON IMPULSE: Bake a cake!
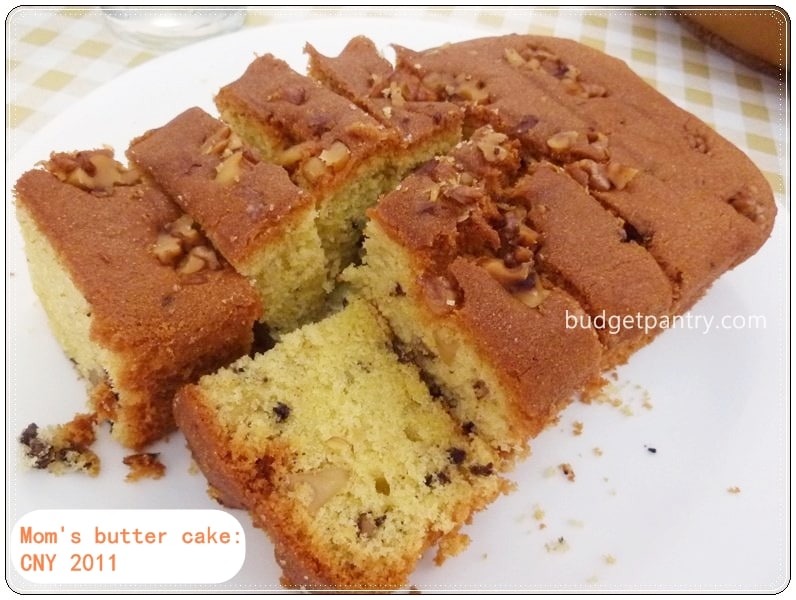
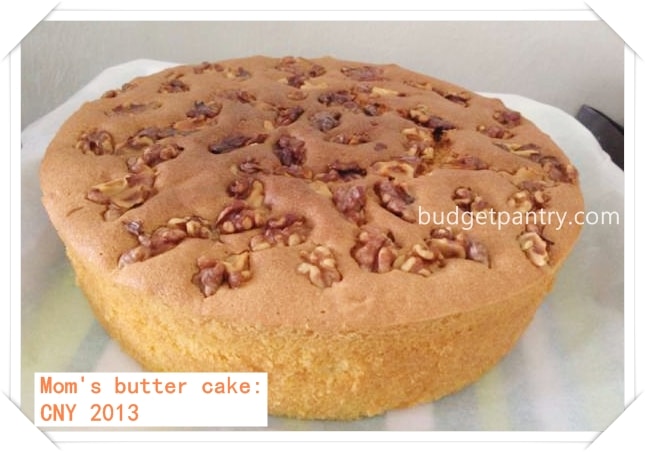
My mum makes the best butter cake. When we were kids, she used to bake the amazing butter cake once a month. And every month, my brother and I would fight over the cake tin AFTER the cake was unmolded. And what were we after? The thin layer of cake stuck to the cake tin. We would run our tiny fingers along the sides of the tin to unravel the baked bits.. and after a substantial amount was “collected” on our messy fingers, we would pop them into our little mouths for one of the best childhood kitchen memory ever.. one which we still remember 30 years on. Show you what awesomeness looks like:
I’m not making Mum’s butter cake today, and I promise to finally ask her for the recipe, watch her in action and replicate it, so that everyone can eat a delicious butter cake. We don’t stay together (and haven’t been since I was 8), so it’ll take some time, but I’m on it. Today, I’m going to show you how to bake a cake with the Panasonic bread maker.
All of you seasoned bakers might be scoffing just about now. “She runs a cooking blog and she doesn’t even know that bread makers can bake cake?!” What? I have a blog doesn’t mean I know everything in the world about cooking, about kitchen appliances and magic ingredients. I am not a purist nor must I insist on pounding spices myself, which I don’t. I am always on the lookout for short cuts. I am always learning. I am in a no way a cooking expert (please go to Lily’s blog if you want to learn from a great cook who I really admire). I might not be all of the above, but I am good at putting food on the table on a budget, in a few simple steps. So you decide la, if you want to stick around.
Excellent choice.
Yesterday I tried improvising on the basic cake recipe that came in the bread maker’s instruction manual. I had some white chocolate in the fridge and I swear, my intention was purely to bake a white chocolate cake. But then knowing me, how to be just satisfied with one ingredient? I saw some kraft singles in the chiller compartment and stole them from 88 to add to the recipe. Wait tomorrow she look for the cheese how? Easy, I’ll just tell her to eat cake or polo bread with butter.
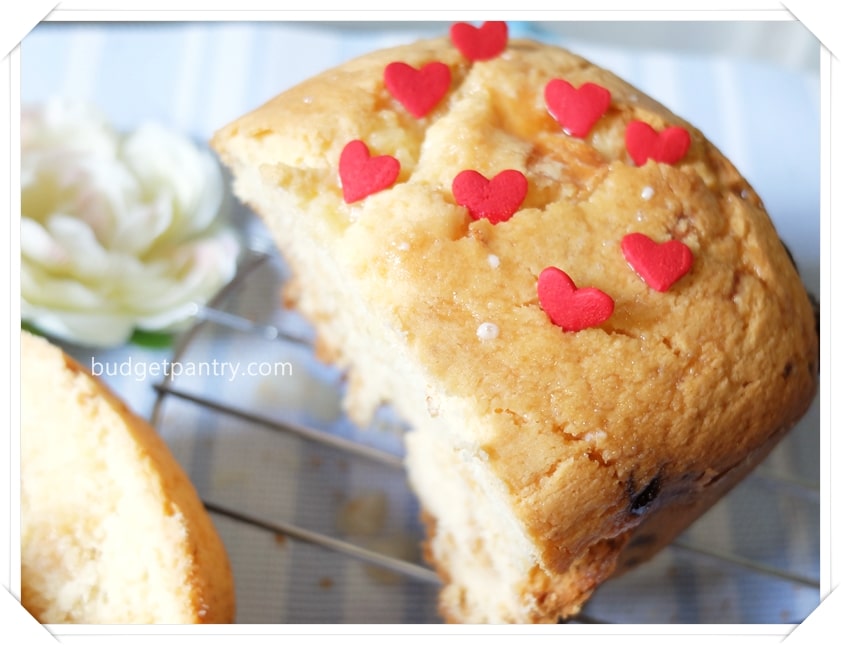
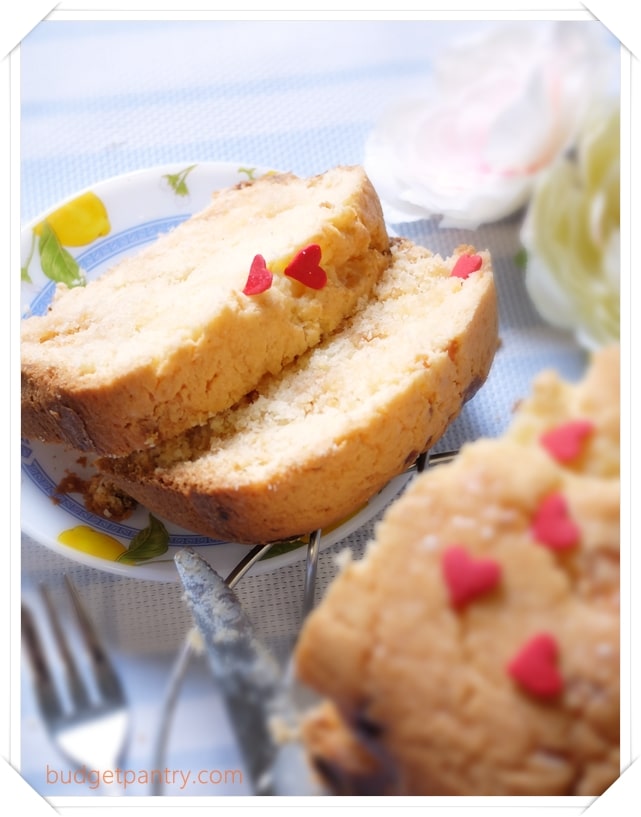
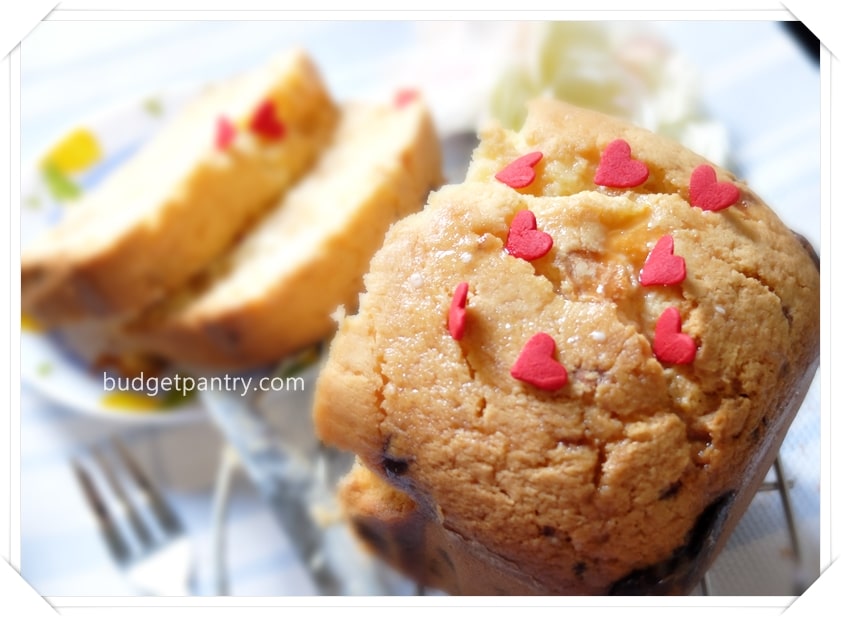
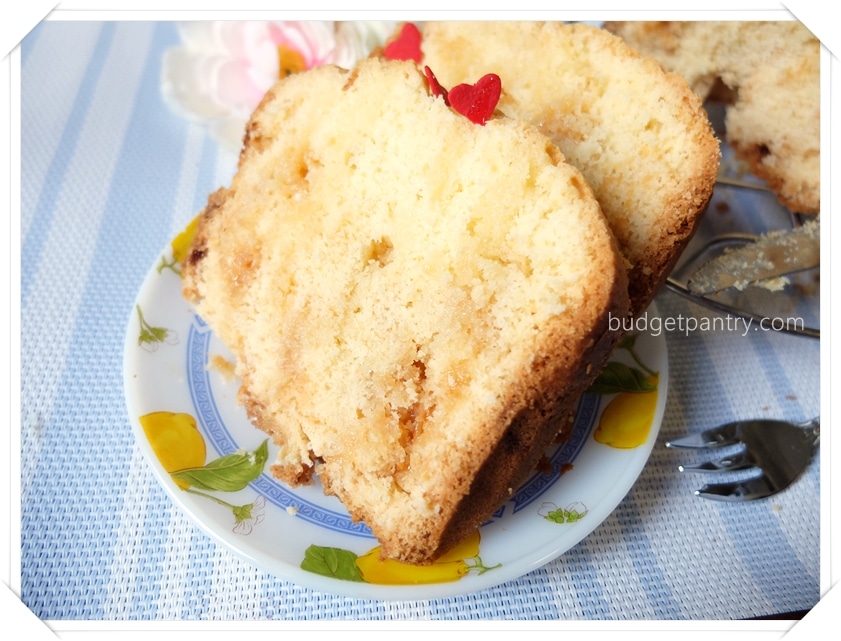
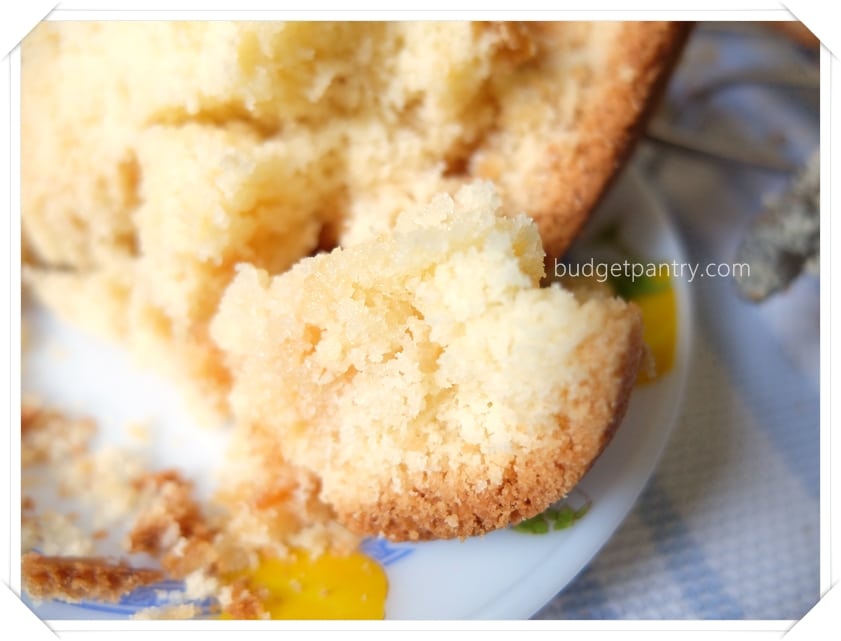
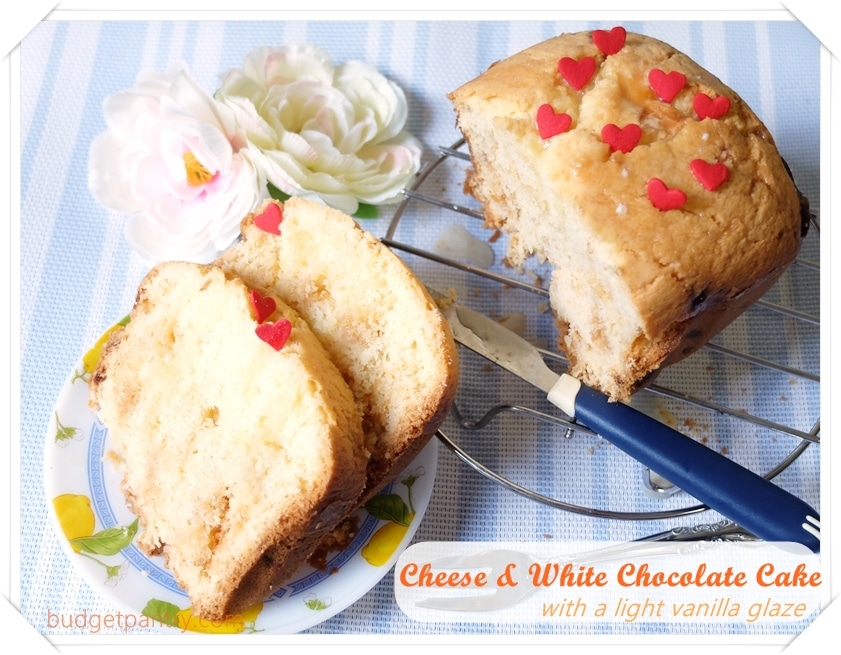
The instruction manual had a disclaimer: “The finished cake is similar to butter cake. (But not totally the same as the sponge cake available in the market.)” Very good, setting expectations! The description is totally apt. The finished cake (and yes has been almost finished) had the texture of a rustic, nostalgic butter cake. I decided to drizzle just a bit of light vanilla glaze on top before serving. There! Just about perfect!
Ok now let’s bake cake! You could also bake this in a cake tin at 170C for 50-55 minutes.
Bread Maker Cheese and White Chocolate Cake
Makes: 6 slices
Total cost per cake: about $3.90
What I used:
For the cake:
180g cake flour
2.5 teaspoons baking powder (about 7.5g)
110g unsalted butter, cubed
60g sugar (you need to up it to 100g if you’re not making the glaze)
2 tablespoons milk (about 30ml)
100g eggs (2 medium eggs), beaten
40g white chocolate chips/ drops
3 slices cheese singles, cut into strips
Decor hearts (optional)
For the glaze:
30g icing sugar (about 1/4 cup)
3 tablespoons milk
A drop of pure vanilla extract
Steps:
1. Sift flour and baking powder together.
2. Add in sequence to the bread pan: Butter, sugar, milk, eggs, flour + baking powder from Step 1.
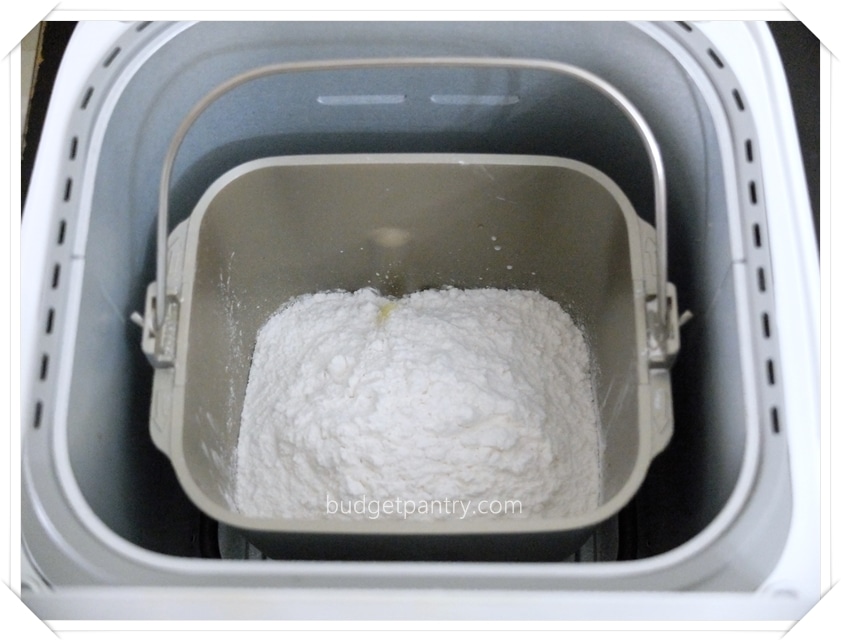
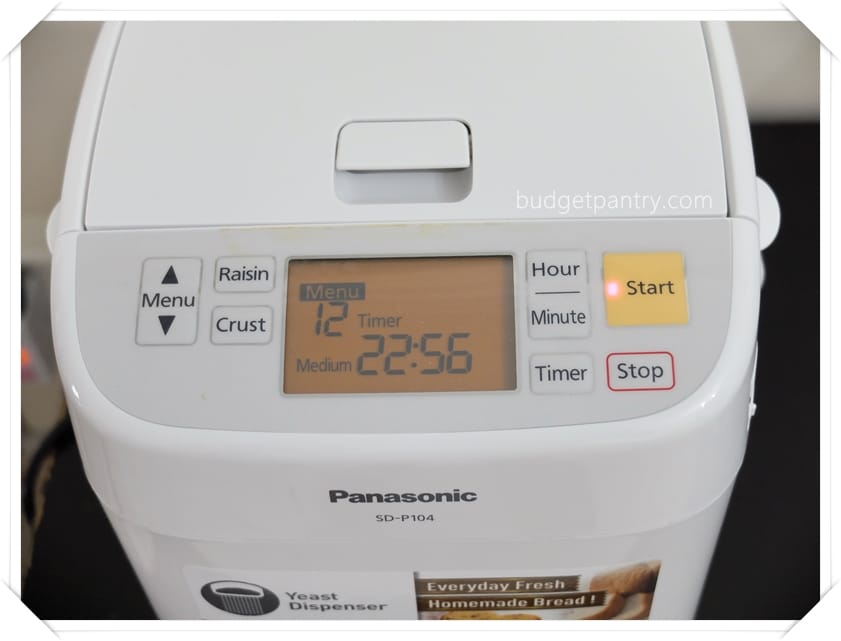
3. Close the lid and select menu “12”. Press “Crust” to choose how brown you want your cake to look. I left it as “Medium”. Press “Start”.
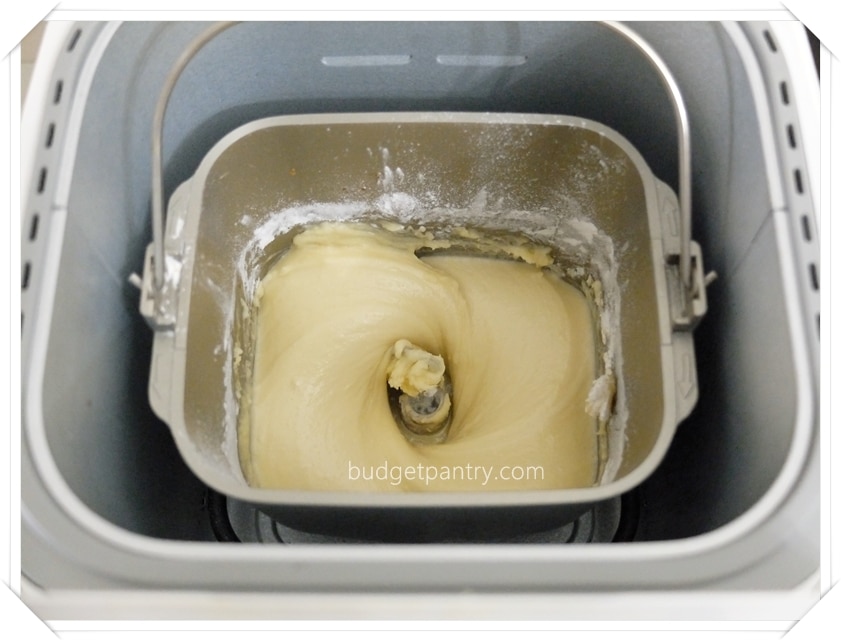
4. After about 12 minutes, the bread maker will beep. Open the lid and DO NOT PRESS “Stop”. This is when you clean up the flying flour with a rubber spatula and do a quick mix back into the mixture.
5. Add the white chocolate and cheese.
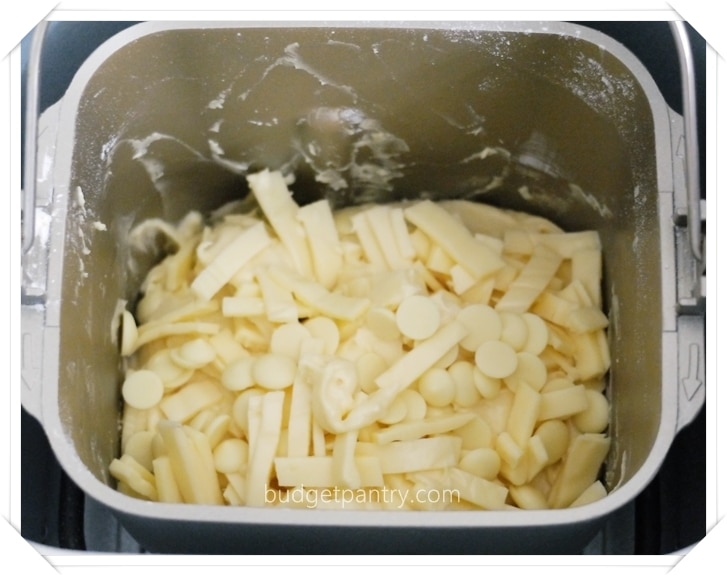
6. Close the lid and press “Start”.
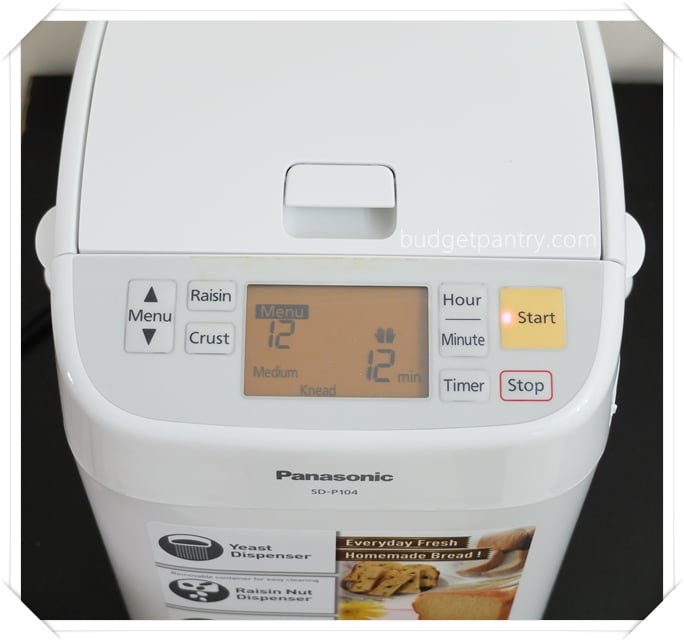
7. After about an hour, your cake will be ready! Allow to cool for 5 minutes before tipping it out from the bread pan.
8. Make the glaze: Mix the icing sugar, milk and vanilla extract in a bowl and stir til incorporated. Add more milk if you prefer the glaze to be thinner.
9. Decorate your cake if you’re so inclined and enjoy!
How much I spent:
$1.85 for butter
$0.55 for cake flour
$0.60 for eggs
$0.90 for cheese singles
Everything else from my pantry (ok almost everything can be found in yours I think!)
