Japan Day 0: Trip Preparation – Useful websites, Staying connected, Japan Rail Pass, Getting around
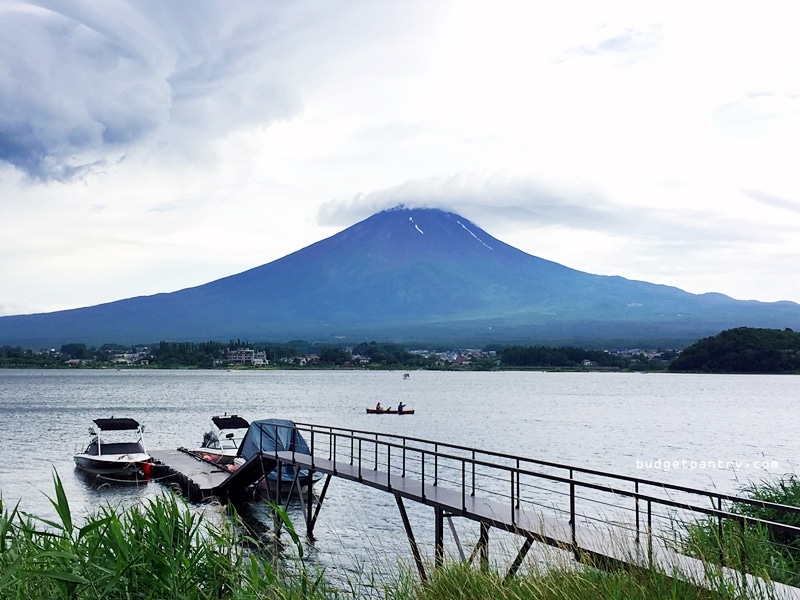
I visited Japan for the first time in 2007. I was in my mid twenties and it was a family trip. I don’t remember very much about the trip, except that we were on a guided tour and we visited Tokyo, Osaka and Nara. I remember staying in a Ryokan and eating rice and soup for breakfast, narrowly escaping a snow storm on Mount Fuji and being surrounded by deers in Nara. Err I also remember wearing a Lilo and Stitch hat in Disneyland HAHAHA:
But if not for the company of my family – I travelled with my two aunts, eldest brother, sister-in-law and Aegon – I don’t think I would have enjoyed the trip.
Because I am not made for guided tours.
It was all very convenient, the tour, but half the fun of a trip is taking public transport, figuring out which train platform to get on, trying to communicate with locals in a smattering of foreign language. And getting lost. You have to get lost. So although I have been to Japan before, this recent trip was all very new to me. I had to try and get to know Japan’s crazy huge transport system, figure out their rail passes and mobile prepaid cards, plan our itinerary, buy train tickets, book our accommodation, pick up a few words of Japanese…. you get the idea.
Our 16-day trip: Tokyo -> Takayama -> Gujo Hachiman -> Kanazawa -> Kyoto -> Osaka -> Tokyo
This series of blog posts is meant for the new traveller to Japan, just like me. I don’t promise very comprehensive information because i don’t know a lot, but I’m back and alive so I think you’ll survive la. Jason was an awesome travelling buddy. I must say I am really lucky that we are wired the same way when it comes to seeing the world!
This first post will be about these things:
– Useful websites
– Staying connected
– Buying the Japan Rail Pass (JR Pass)
– Getting around
Some of the information might not be the best or very thorough, but this is what I know and what worked for me. Depending on your own trip preference and circumstances, you will need to research and do a mix-and-match to get the most out of YOUR experience.
Useful websites
These resources helped me a lot in trip-planning:
– Japan-guide.com – for itinerary planning and almost everything you need to know!
– Hyperdia – for train timetables and route search. It does not sell tickets, but it lets you search for train information. You can then reserve a seat on the train you want or simply show up and hope there are seats in the “unreserved” cabin. For example, we have the Japan Rail Pass and will use it to travel from Takayama to Kyoto. I search for train options on Hyperdia, note down the date and train number, then go to a JR office to reserve my seats. This way, we will have seats on our preferred train for sure.
– App: Google Maps – self explantory
– App: Tokyo Subway Navigation – getting around in Tokyo and places of interest around subway stations. Available on both iTunes and Google Play
Staying connected

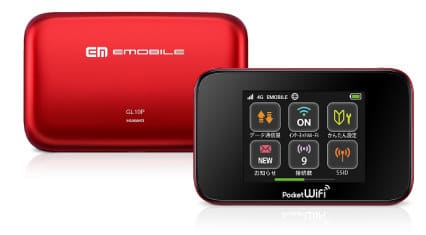
Pocket Wifi is very common in Japan. We’re not very familiar with it as we are used to SIM cards. It is basically a portable wifi device that allows many people to connect at the same time. You can either use it at home or carry it with you on the move. All our Airbnb hosts provided pocket wifi and we were free to bring it out, but the connection was intermittent and not always reliable. When it worked, it worked really well, but when it didn’t, we relied on our SIM card. We got ours from Japan Experience, the same site that we got our Japan Rail Pass, and it was conveniently mailed to us in Singapore via courier. I noticed some phone companies selling SIM Cards when we touched down in Narita Airport Terminal 1, so you can probably get them on arrival too. But please do further research. The SIM Cards were ok for use all over Japan and our plan was 1MB a day. We didn’t have to change phone companies or SIM Cards as we travelled across the different cities. And surprisingly, free Wifi is actually not available widely and easily in Japan.
Buying the Japan Rail Pass (JR Pass)
Transport in Japan is expensive. Travelling inter-region, we combined local trains with highway buses (like SIN-KL coaches) to save money, and even so, we still spent a lot. The JR Pass is expensive and you may not need to buy it. A 7-day unlimited access on JR trains (except certain Shinkansen) cost SG$318. FOR ONLY 7 DAYS! And please note: The JR Pass is only for foreigners and can only be bought outside of Japan. This pass will save you money if you travel inter-region like us. A one-way fare on the Shinkansen from Osaka to Tokyo already costs about 14,000 yen ~ SG$155. But if you are only travelling within Tokyo, around Hokkaido, or in the Kansai region, there is no need to buy a JR Pass. There are other regional passes that might be more suitable for you. We opted for the 7-day JR Pass and activated it only mid-trip. The JR Pass was also purchased via Japan Experience.

You will receive a voucher which you will need to exchange for the physical pass at the JR office in Narita Airport (or any JR offices in major train stations, for example, Tokyo Station or Osaka Station). Refer to this list for the locations of JR offices. While exchanging the JR Pass, it might also be a good idea to make seat reservations on the trains you intend to take for the rest of your trip. We reserved our Takayama to Kyoto, Kyoto to Osaka and Osaka to Tokyo seats at the JR office in Narita Airport. As above, use Hyperdia to check train timings, note them down and inform the JR staff you’d like to make reservations.
More information about the Japan Rail Pass can be found here.
Getting around – day-to-day in general

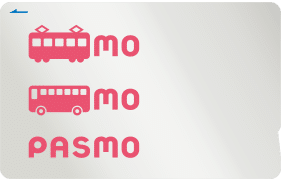
Regardless of which city you’re going to visit, the one card you need to buy is an IC card. It is something like our ezlink card which can be used for transport and as digital money. In Japan, these “ezlink” cards are issued by different companies, so that is why you see some people buying Suica cards and some people buying Pasmo. They work the same.
These cards can be used in almost all trains, subways and buses in Tokyo, Yokohama, Osaka, Kyoto, Kobe, Nagoya and Fukuoka and several other areas. You can buy a Pasmo card in Tokyo and use it in Osaka and Kyoto. I used only one Pasmo card throughout my entire trip. We loved it that it can be used to pay for stuff in convenience stores too.. no pesky coins! These cards, however, cannot be used to ride on the Shinkansen, airport limousine buses (more on that later) or highway buses (those SIN-KL coaches..). It also cannot be used outside of IC card coverage areas.
For details on IC card coverage, click here. You don’t actually have to worry too much about it. The major types of everyday transport like railways and metro all accept IC cards, inter-city. Pasmo cards can be bought from ticket vending machines at Narita and Haneda airport stations, participating private railway and subway stations or bus depots. For a step-by-step guide, this page will be useful. You can also buy them from Japan Experience if you’re getting the JR Pass and/or SIM Card (so you don’t have to go figure out the ticket machine), but I think it is slightly more expensive.
We mainly used the trains and metro in Tokyo and Osaka, so the Pasmo card was really useful. In Kyoto, we used a combination of the Pasmo card and a 1-day pass on their very efficient buses, but I will reserve this for my post on Kyoto.
I hope my experience helps you in your trip-planning!
NEXT UP…
Japan Day 1 – TOKYO: How to get from Narita Airport to Shinjuku + our Airbnb accomodation [here]
Japan Day 1 – TOKYO: Ichiran Ramen and a visit to Piss Alley [here]
Japan Day 2 – TOKYO: Standing Sushi Bar, Tokyo Disneyland and Fu-unji Tsukemen [here]
Japan Day 3 – TOKYO: Mt. Fuji (Lake Kawaguchiko), Harajuku and Tonkatsu at Maisen [here]
Japan Day 4 – TAKAYAMA: How to go to Takayama + BONUS Old Town pics [here]
Thank you for being patient with me as I try to catch up on my backlog Japan posts!


