Pineapple Polo Bread Loaf
And I’m back to business! I was going to blog about my Taiwan trip first but got reminded by someone that “你正经的事不做,blog 什么 travel?” Oh! So now blogging about recipes and food is “正经的事”. Ok!
The first thing I wanted to do when I got back from Taiwan was explore the Panasonic bread maker. It can make basic bread, bread rolls (that are to be finished in the oven), cake, dumpling skin and even chocolate! Apart from this polo bread loaf, I also made a Cheese and White Chocolate Cake in the afternoon. I declare today “Bread Maker Day”!
Before I left for Taiwan, I spied my aunt checking the breadmaker out on a few occasions. You see, she loves bread and all kinds of buns imaginable. Her favourite shops? Four Leaves, Bread Talk, Provence and Crystal Jade Bakery.
My aunt has a gastric problem and always needs to eat bread. And at 75, a breadmaker is new to her as it is to me. Today afternoon’s project is my second go at using a BM, to very happy results I must say!
Ok, let’s get on with it!
Pineapple Polo Bread Loaf
Makes: 6 slices
Total cost per loaf: about $2
What I used:
For the cookie topping:
50g salted butter (unsalted is fine)
40g sugar
Half a beaten egg
100g plain flour
3g baking powder (about a teaspoon)
1-2 drops vanilla extract
Another 2 teaspoons sugar for sprinkling
For the loaf:
150g bread flour
20g salted butter
25g sugar
70ml milk
100ml cold water
5g instant dry yeast
50g raisins (optional)
Steps:
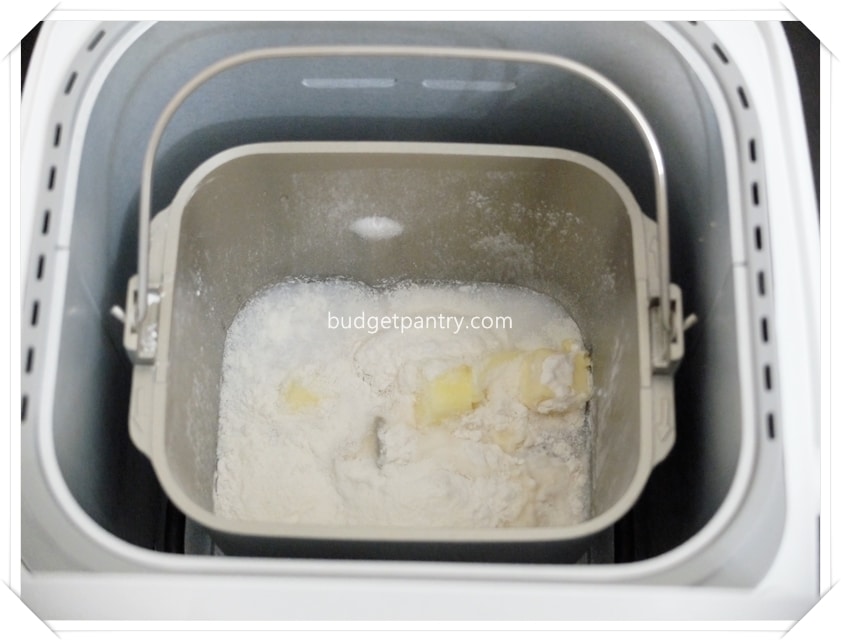
1. Prepare the loaf: In the bread pan, add all ingredients for loaf except the raisin and yeast.
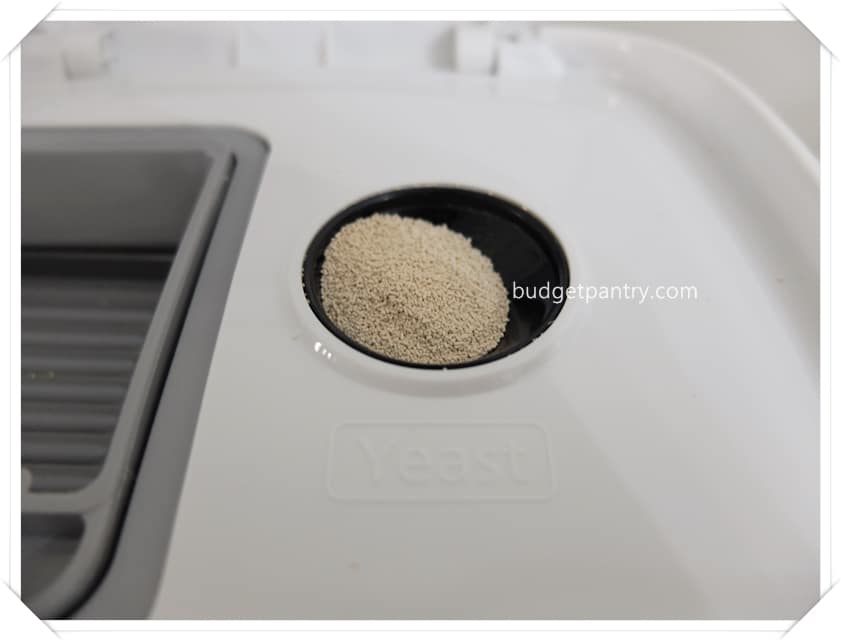
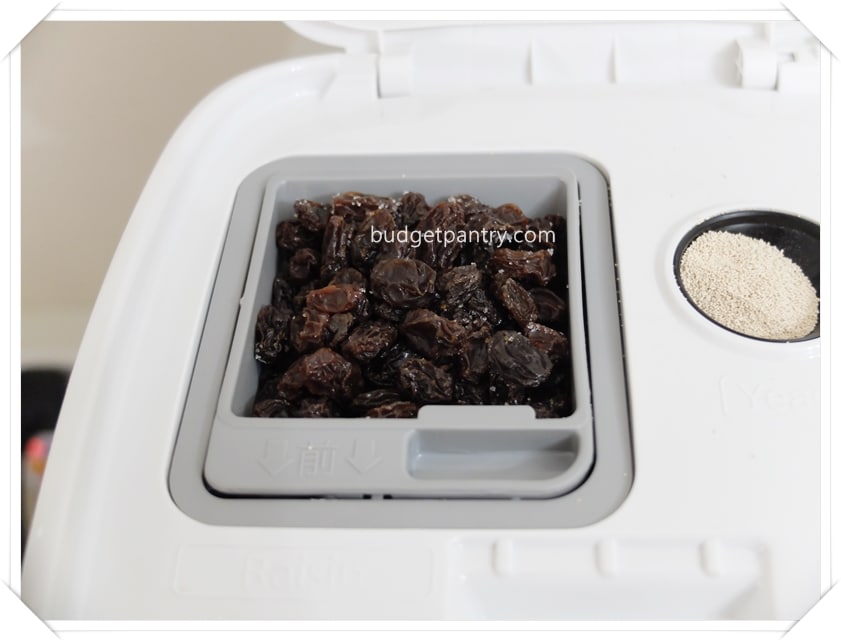
2. Place the instant dry yeast and the raisins into their respective compartments.
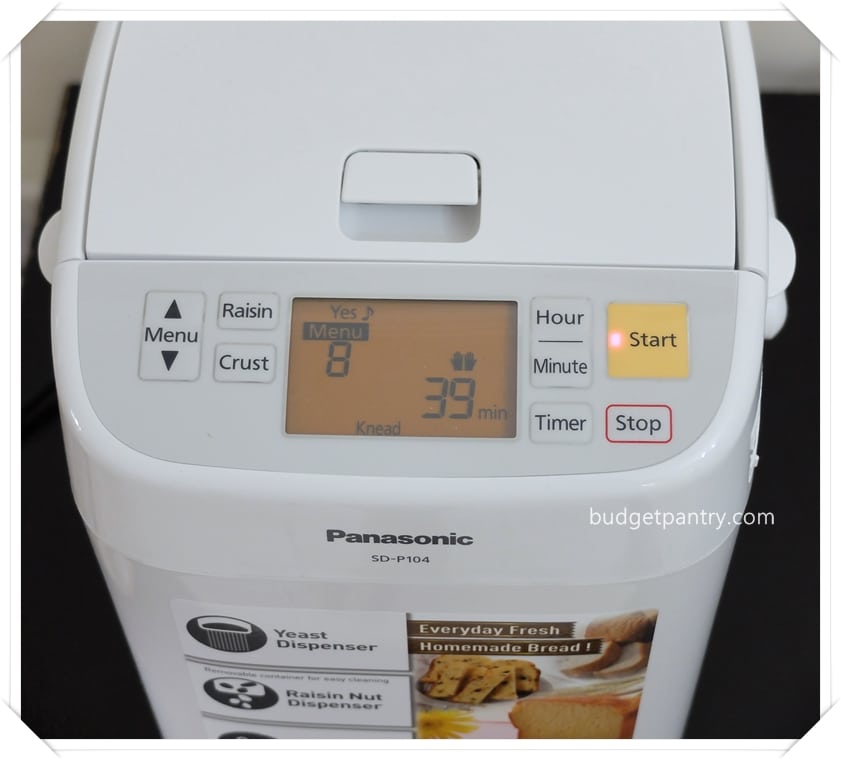
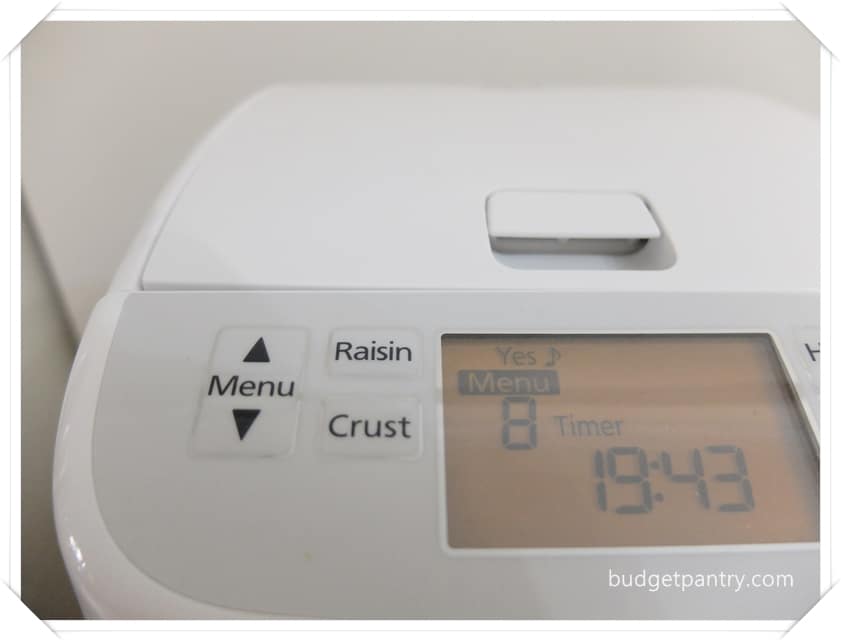
3. Using the up/ down arrows, select Menu “8”. Indicate that you want to add raisins by selecting “Yes”. Press the “Start” button and let the machine do its job. Leave it alone until it beeps, about 40 minutes later.
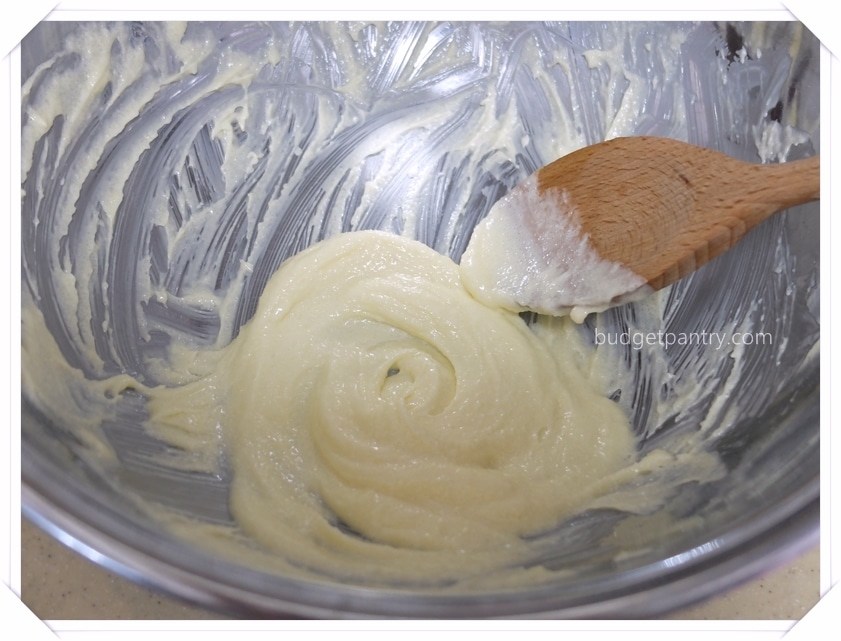
4. Prepare the cookie topping: In a mixing bowl, cream butter til soft and creamy. Add sugar in 2-3 additions and mix well til the mixture becomes whitish and smooth.

5. Add the egg mixture in 2-3 additions (reserve 1 teaspoon egg mixture for brushing later), followed by the vanilla extract. Mix well.
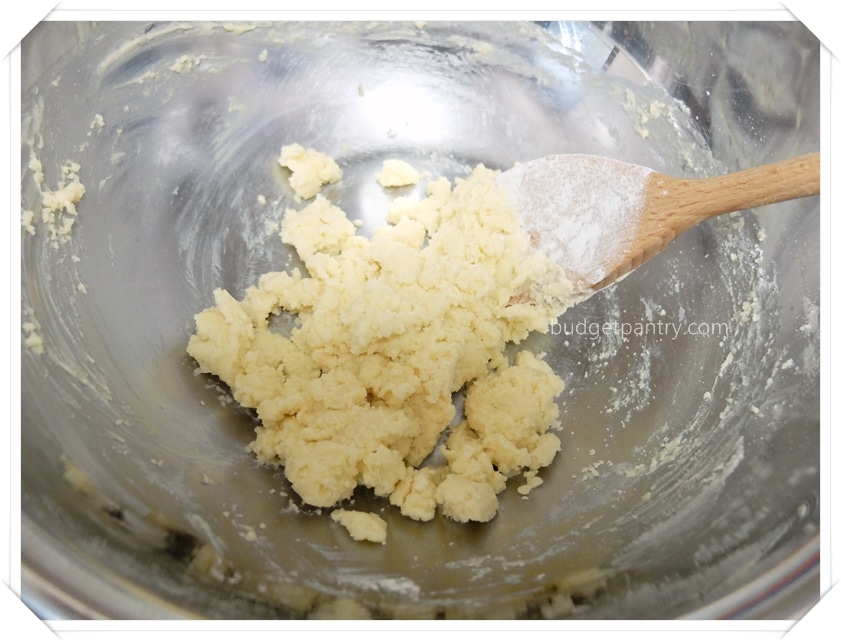
6. Sift plain flour and baking powder together and add to the mixture above until smooth. Form into a round dough and wrap with plastic wrap. Refrigerate for at least 20 minutes.
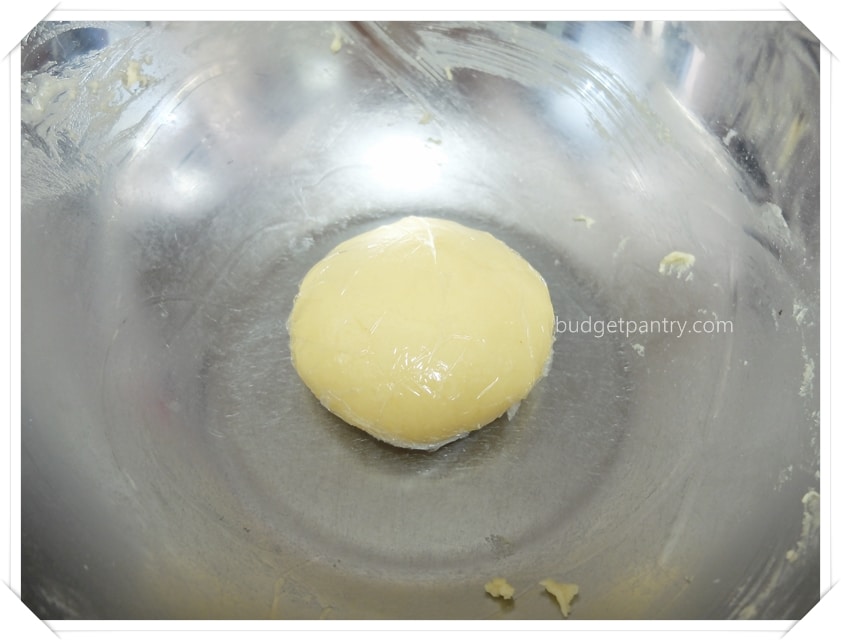
7. With 3 minutes to go (the breadmaker will indicate time left), remove the cookie dough from the fridge and roll out to a flat cookie sheet. Keep the plastic wrap on for easy rolling. Coat one side with the reserved egg liquid.
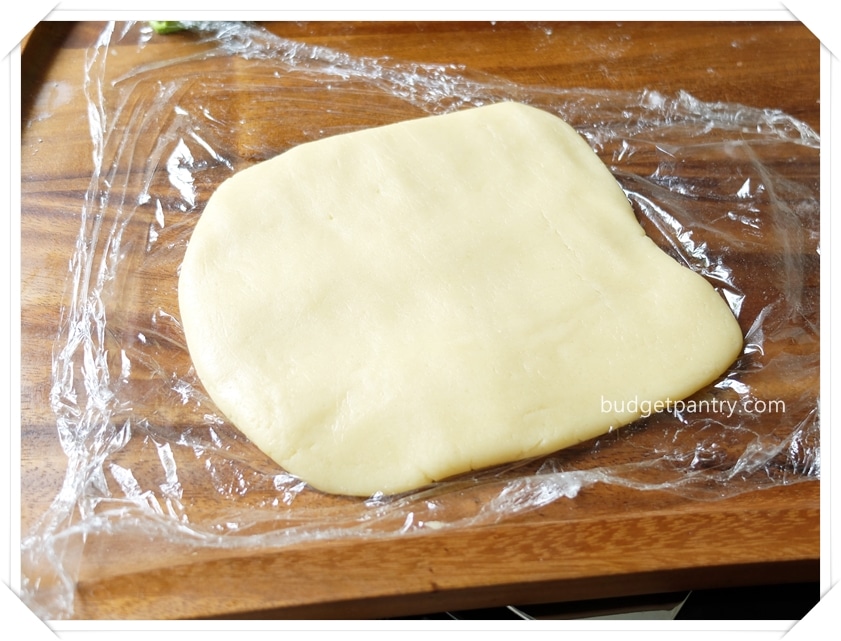
8. When the machine beeps, open the lid (no need to press “Stop”) and place the cookie dough on the bread dough with the egg-coated side facing down. Slightly press the sides of the dough. Sprinkle sugar on top.
9. Close the lid and press “Start” again.
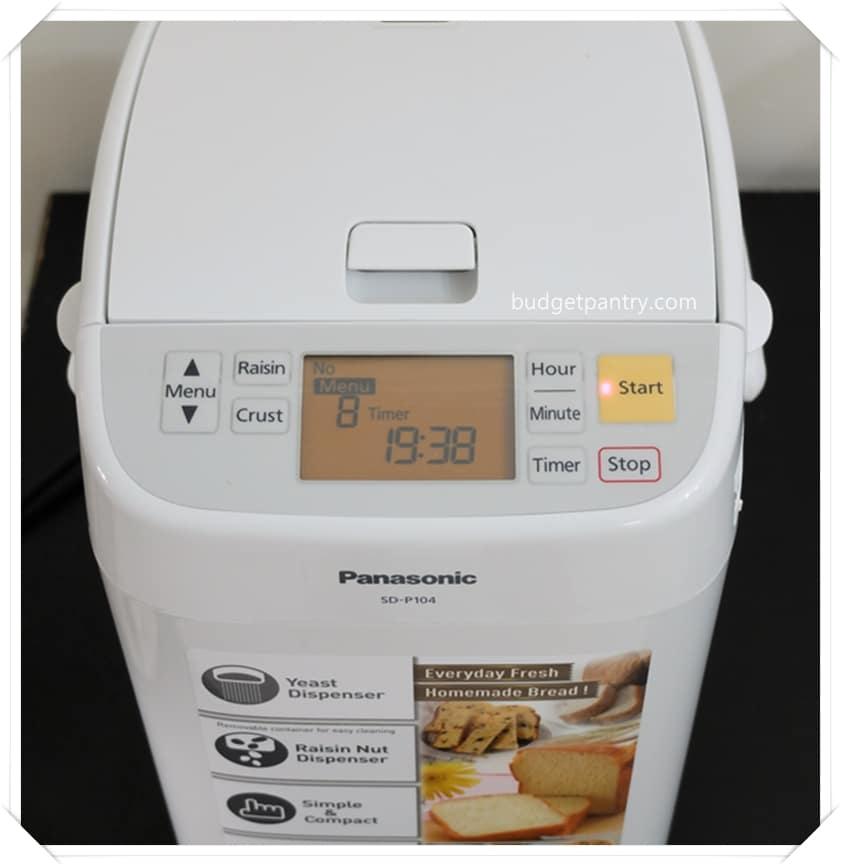
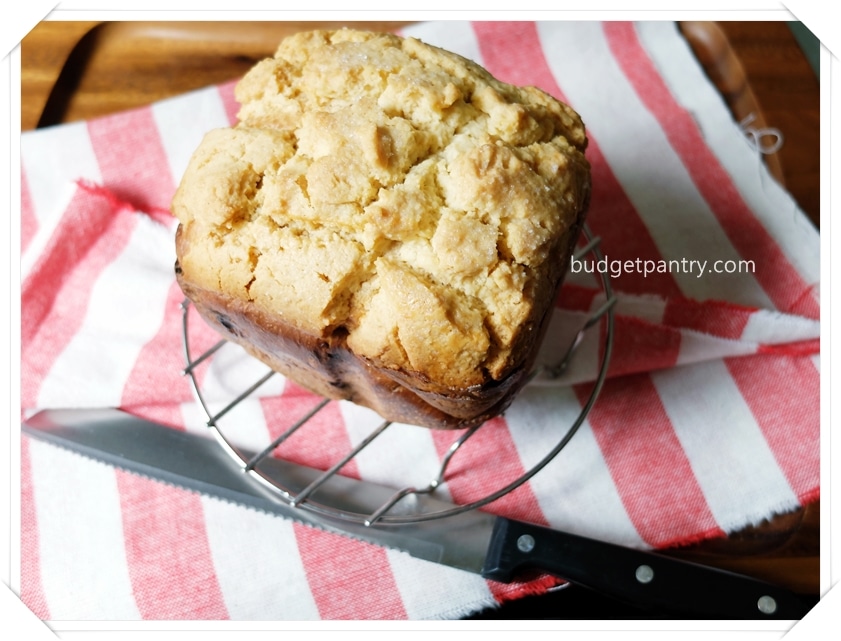
10. The bread will be ready in another 1 hour +. Allow to cool for 5 minutes before removing from bread pan.
How much I spent:
$1.20 for butter
$0.65 for bread and plain flour
$0.30 for half packet instant dry yeast
Everything else from my pantry (ok almost everything can be found in yours I think!)
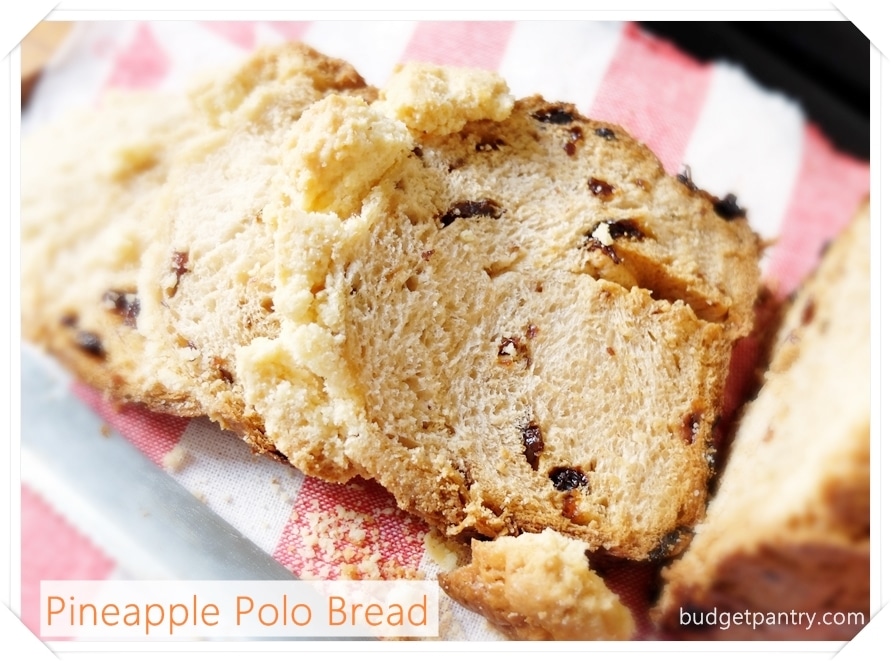
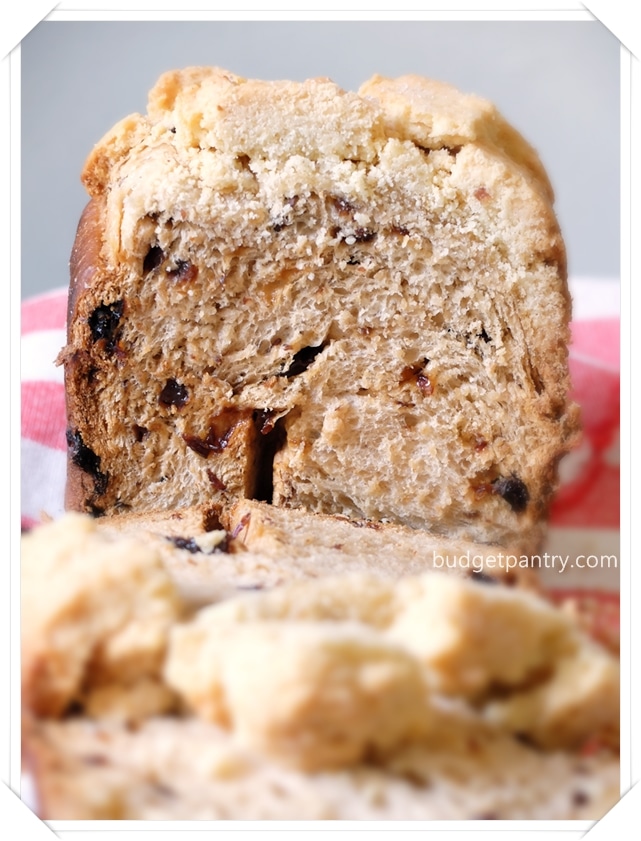
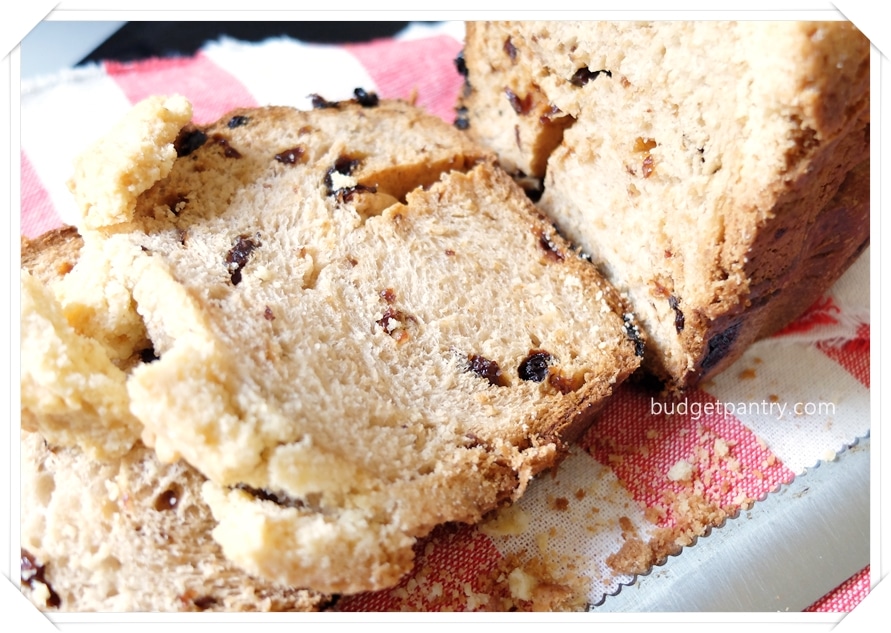
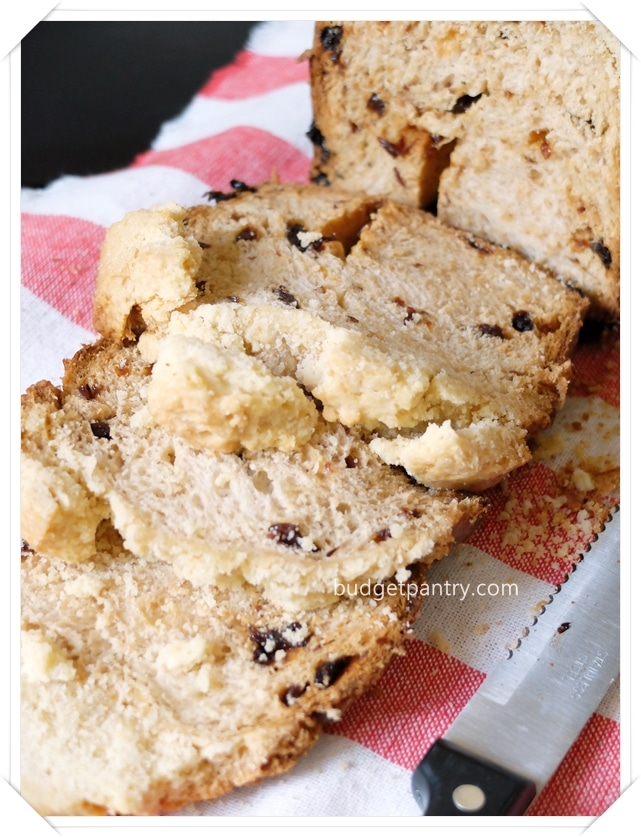
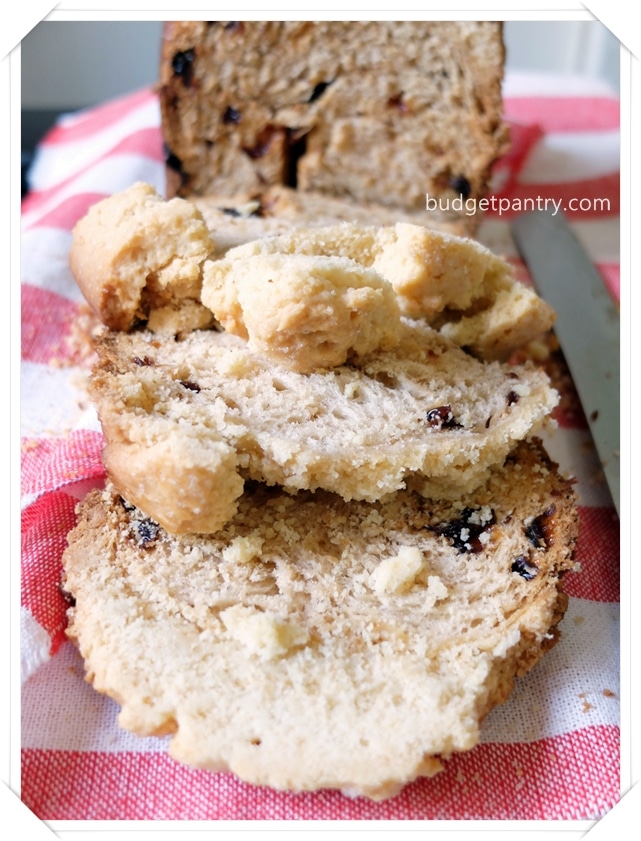
The bread turned out very soft, the raisins evenly distributed, the cookie topping crunchy, buttery and delicious.
This attempt turned out so much better than my first attempt. I am looking forward to getting to know the breadmaker better. Look out for my Cheese & White Chocolate Cake recipe coming up! And very soon, I’m gonna teach the aunt how to bake her own bread. How thrilled will she be? Very!


4 Comments
Ping
Hi, when do u add the crunchy topping…. Is it at “add topping” stage? I’m using a Zojirushi so not sure which stage. Thanks!
Chrissy@budgetpantry.com
Hi Ping, I am sorry, I am not that familiar with bread makers. After “adding topping”, does your machine still knead the bread? If so, it won’t work and the topping will be destroyed. After I added mine, the dough was simply left to “Rise”, “Rest”, and then “Bake”. If you can add it just before it goes into “Bake” mode, it should work!
Pingback:
Pingback: